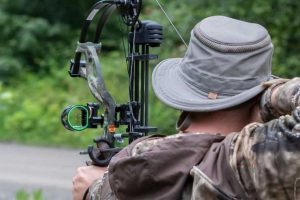
YOU LOVE BOWHUNTING?
Welcome to BowAddicted, your go-to source for finding the perfect bow and accessories. Discover our easy-to-follow how-to guides, insightful buying guides, and hands-on reviews, all designed to enhance your archery experience. Join our community and equip yourself with the best in archery!


REFERENCED BY
Welcome to BowAddicted, where our passion for archery sets us apart! Unlike other review sites, we’re not just talking the talk; we’re walking the walk.
Our commitment to authenticity shines through as we’ve personally tested over a dozen compound bows, ensuring that our reviews are grounded in real experience.
Most Discussed Articles
![BlackOut Epic Compound Bow BEST Review [currentyear]](https://bowaddicted.com/wp-content/uploads/2021/11/Blackout-Epic-Bow-300x200.jpg)

![QAD Exodus Full Blade Broadhead Review [currentyear]](https://bowaddicted.com/wp-content/uploads/2020/07/QAD-Broadhead-Post-min-300x200.jpg)


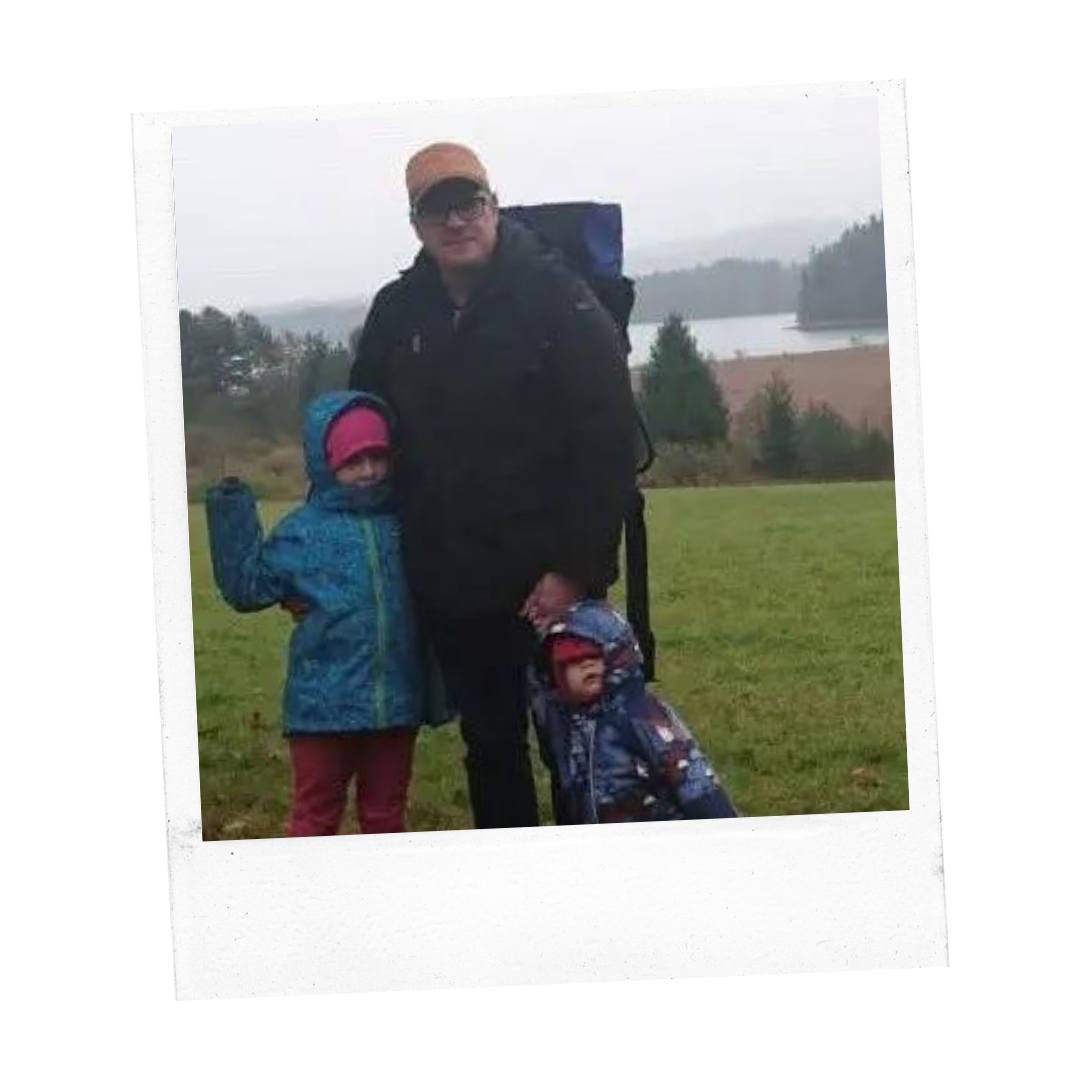
Hi, I´m Alexander Knobloch
…and these are my kids, Annika & Nils
Welcome to BowAddicted.com, the ultimate destination for archers and bow hunters!
As the founder of this platform, I am thrilled to provide a comprehensive hub for enthusiasts like yourself. Whether you’re a seasoned archer seeking advanced techniques or a beginner looking to learn the ropes, BowAddicted.com has you covered.
Our site has many resources, from expert tutorials, equipment reviews, and captivating stories from fellow hunters.
Get ready to unleash your inner bow addict and explore the thrilling world of archery and bow hunting!