
So, you’ve been practicing with your bow for some time now, and everything seems to be working and running just fine.
And yet, something still feels off.
Everything is in tip-top condition, and yet there’s still something that is stopping you from getting your aim right.
Maybe your arrows wiggle a little too much, or maybe they don’t seem to fly as straight as they should.
read.. how to properly paper tune a recurve bow
It feels kind of like playing an out-of-tune guitar. Everything is there, but the result is just a little off.
That comparison isn’t unwarranted, either.
Something that many newcomers sometimes forget is, like any other precision tool, bows need to be tuned to get the result that you are looking for, such as making sure that your arrows are sticking to the flight path that they should, as well as penetrating as deep as you expect them to.
A tune-up for your bow can be the difference between a clear miss, and a perfect shot. So, that leaves you to tune up your bow.
But how should you do it? Plenty of different methods and techniques are out there for finely tuning a bow.
But one that seems to throw a lot of people off when they first hear about it is the idea of paper tuning. What is it exactly?
How does it work? How does it benefit your bow? And how important or helpful is it even in the first place?
This article and guide hope to answer at least a few questions.
We will explain what paper tuning is, how it can help you and your bow, and how to do it for yourself, as well as some of our thoughts on how important it is to have in your bow care routine.
What Exactly Is Paper Tuning?
Before we discuss its benefits, we should probably first explain what paper tuning is in the first place.
Not just for newcomers but for those more experienced bow users who have not yet considered using this technique.
Paper tuning itself is quite simple. Effectively, it consists of an archer firing an arrow at a piece of paper.
By comparing where the arrow hits the paper, a person can study where an arrow will tear through it, to better calibrate both their bow and their aim.
How To Paper Tune Any Bow
Paper tuning a bow is also a pretty simple task.
You only need a few items to try this method of calibrating out for yourself, and can be found in most stores that sell bow-related items.
- Ideally, you should have a backstop for your arrows to stop them from causing damage if they veer off course, ideally around the height you would normally fire them.
- You’ll also need a frame to hold the paper in. You should find a frame that can hold your paper from four corners rather than a simple clip that will only hold it from one, potentially skewing your result.
- And you’ll need paper, of course! Any paper should work, including printer paper, which should be easy to access.
These are the steps that you should follow when paper-tuning your bow:
- Fix the paper to the frame at an appropriate height and angle.
- Ensure you are standing around 8 feet away from the paper and the frame.
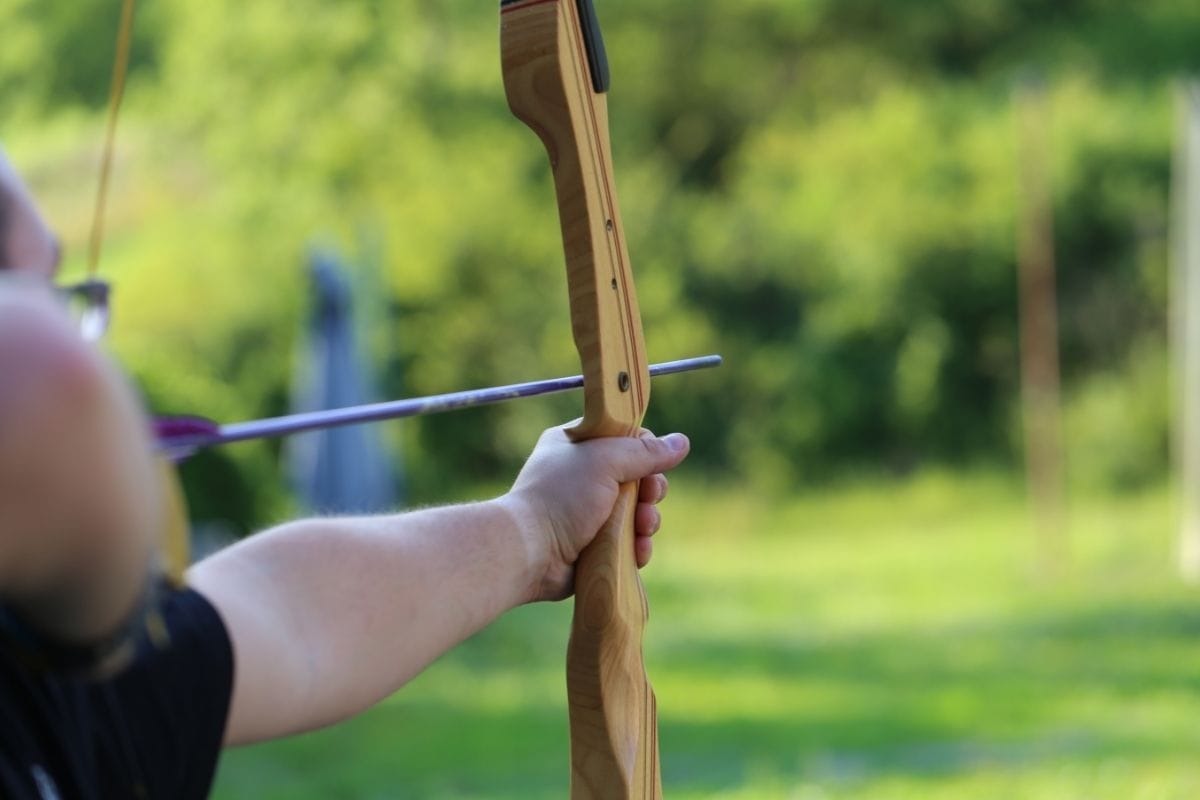
- Using proper archery form, get yourself into position by drawing your bow and leveling out your arrow to be pointed straight at the sheet of paper.
- Keeping that form, shoot your arrow straight through the paper.
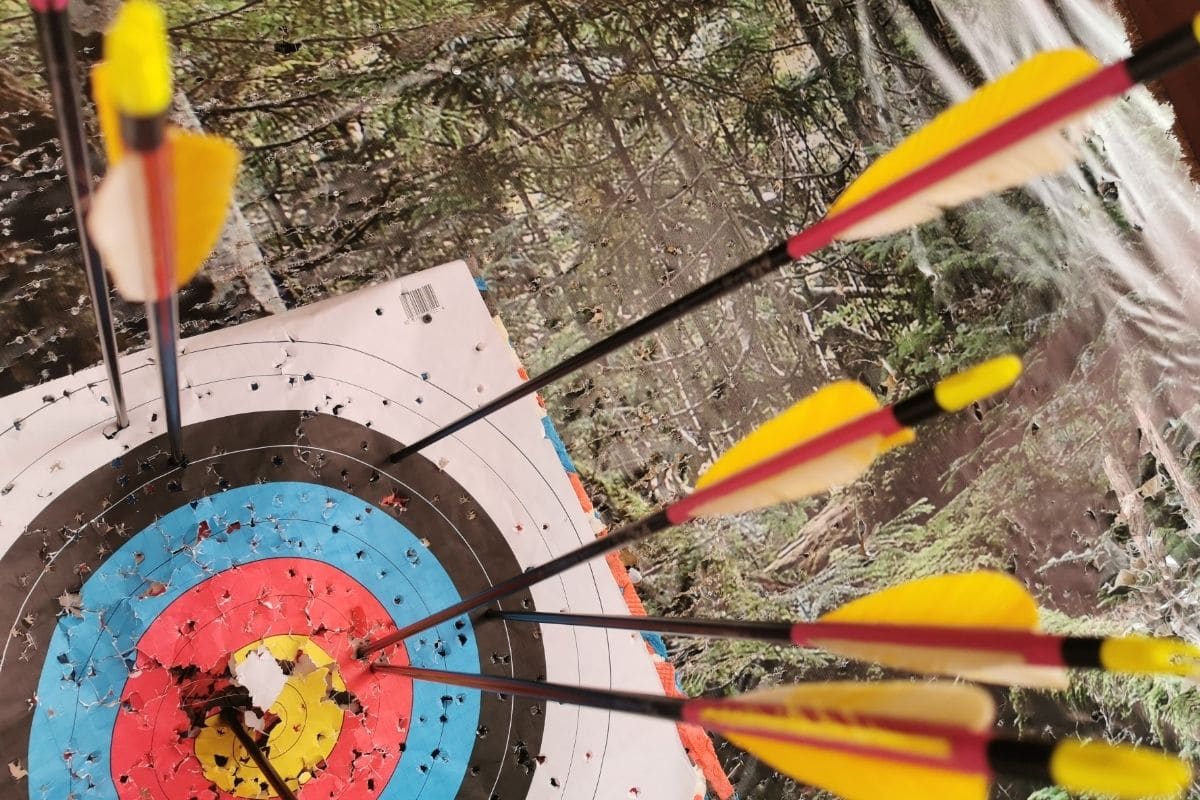
- Check the result of your shot. Being close to the target, your arrow should have a clean tear or exit hole through the paper, leaving only the outline of your arrowhead if your bow and form are adjusted properly.
- If this isn’t the case, and the tear in the paper is larger or a shape that you wouldn’t normally expect, you can use the result to adjust your bow better, or make changes to your shooting technique.
- Make the changes, and repeat this process until you are comfortable with the tear you create.
That’s all there is to it. Get some paper, shoot it, and repeat until you’re comfortable with the result.
Factors That Paper Tuning Can Help You Adjust
So, we’ve outlined the what and how of paper tuning your bow, but we haven’t discussed why yet.
The following shortlist are factors that paper tuning will help you fix when it comes to your shots.
Arrow Rest Issues
How the rest of your bow for your arrows is calibrated will be reflected in the tear that you make in your paper target.
Your arrows will likely veer slightly up or down if it isn’t positioned correctly. This isn’t rare, especially for first-time and new bow wielders.
Many users and bow technicians tend to set the rest of the bow slightly above the center of your bow’s riser to make it easier to get a better feel of the bow.
And while this is great for first handling your bow, the results will quickly start to show if you find your arrows aren’t as straight as you feel they should be.
This is an easy fix, though, and a little adjustment to the elevation of the rest will quickly solve this issue, getting the tear you are looking for.
Measuring Your Bow Torque
This is mainly an issue that the holder of a bow will have rather than with the bow itself.
But it is a factor that paper tuning can help make you aware of.
When handling a bow’s grip, you may find that it feels like the bow wants to twist in your grasp, throwing your aim off and causing the rip you make in your paper to look strange.
More often than not, this strange drift, or bow torque as it is often known, is mainly due to how a bow is being held incorrectly.
Even a slight error in your grip technique can cause your arrow to veer left or right, and it will show in the paper you are tuning yourself and your bow with.
Issues With Cam Lean
This is an issue that paper tuning can identify if you use a compound bow.
Cams are the disks that you’ll see attached to the ends of the limbs of your compound bow, and they help you, as the holder of the bow, to pull the pack further on the bowstring with less effort.
They’re a very helpful tool for keeping the tension of your bowstring up without exhausting or straining yourself.
However, misalignment in the cam system can lead to the string’s tension being unevenly distributed in your bow, causing your arrows to veer.
Paper tuning can make you aware of this, especially if you try to line up your string with the riser, which doesn’t look straight.
Final Thoughts
So, as we can see, paper tuning is more than just a novel way to get your aim in.
It can help alert you to some important factors holding your accuracy back.